Not a DIY project? Get free quotes from licensed installers.
Compare 3–5 quotes from pre-screened local contractors — and skip the drilling entirely.
Jump to a section:
Fence Kits
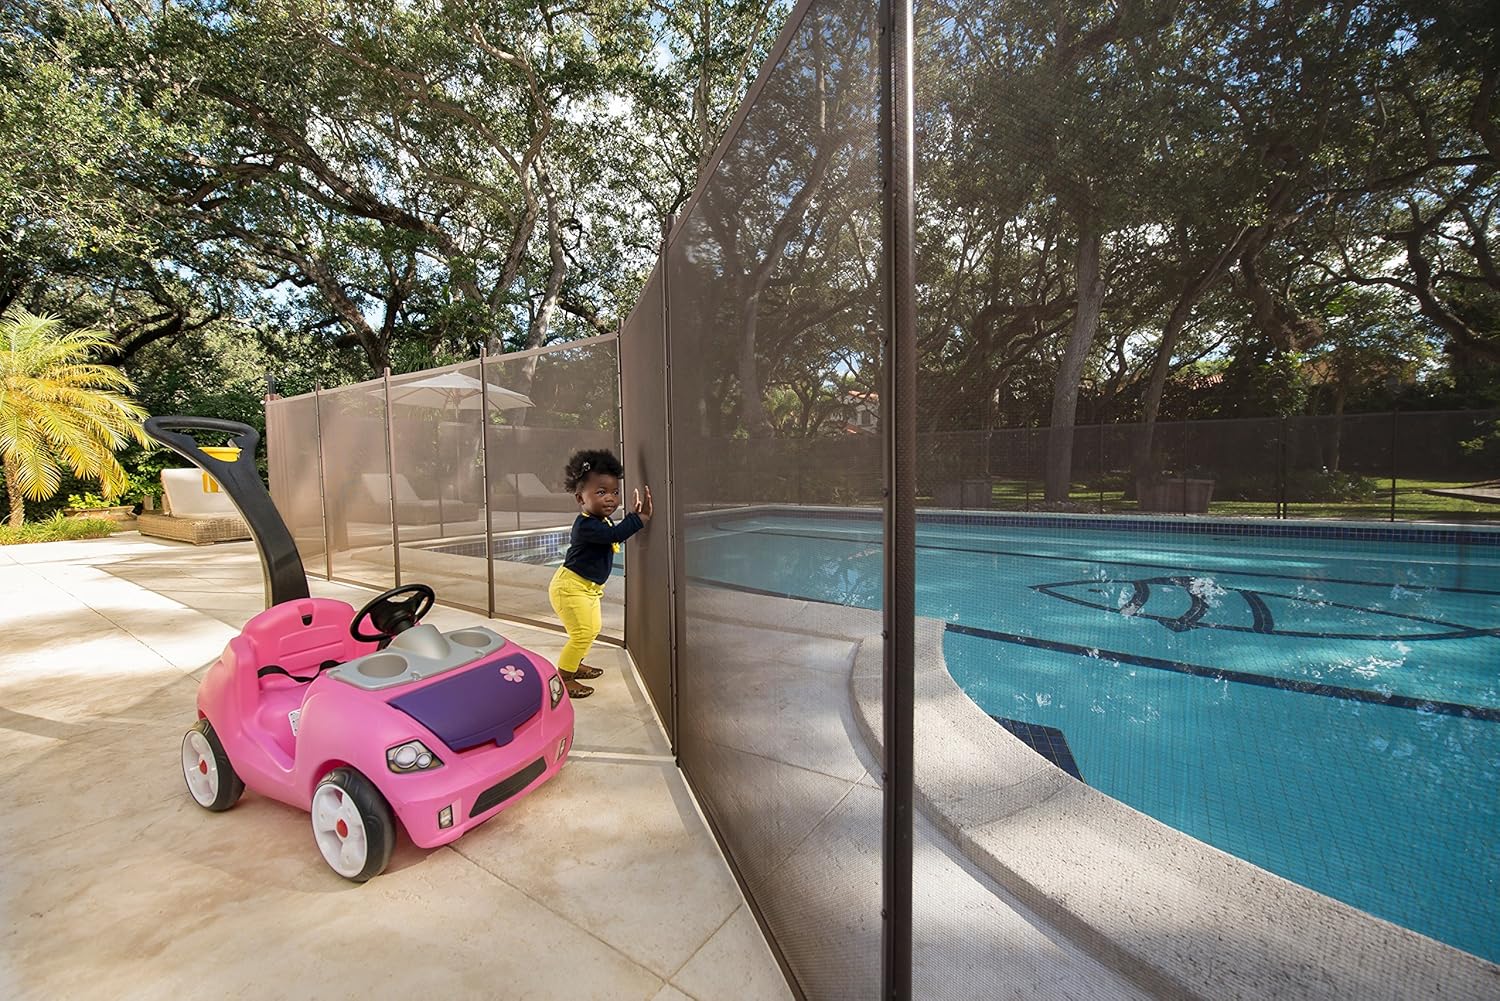
Life Saver is the #1 brand for removable mesh pool fences in the US — lifetime warranty, 7-day phone support.
| Kit | Best For | Height | Gate Included | Install Difficulty | Price Range |
|---|---|---|---|---|---|
| Life Saver 48-ft Bundle ★ | Small pools (under 50 ft) | 48″ | ✓ Included | Easy | $650–$850 |
| Life Saver 72-ft Bundle | Medium–large pools | 48″ | ✓ Included | Easy | $900–$1,200 |
| Life Saver 12-ft Section | Custom perimeters | 48″ | ✗ Separate | Easy | $11–$16 / ft |
| Life Saver Gate Kit | Adding a gate to existing fence | 48″ | ✓ Is the gate | Easy | $90–$140 |
| Vingli 12-ft Section | Budget alternative | 48″ | ✗ Separate | Moderate | $12–$18 / ft |
| VEVOR Section | Lowest cost per foot | 48″ | ✗ Separate | Moderate | $15–$22 / ft |

Life Saver Pool Fence — 12-ft Section
The most-trusted removable mesh brand in the US — buy as many 12-ft sections as your perimeter requires.
- 48″ height — meets most state codes
- UV-resistant Textilene mesh
- 5 aluminum poles per section
- Lifetime warranty + 7-day phone support
- Anchors included; 5/8″ drill bit needed
Affiliate link — we earn a small commission at no cost to you
Life Saver — 48-ft Bundle + Gate + Drill Guide
Everything in one order: fence, gate, and drill guide — nothing to source separately. Ideal for smaller pools.
- 4 sections = 48 linear feet
- Self-closing gate kit included
- Drill guide for consistent hole spacing
- Lifetime warranty + 7-day support
- Installs in a weekend with basic tools
Affiliate link — we earn a small commission at no cost to you

Life Saver — 72-ft Bundle + Gate + Drill Guide
Best value per linear foot for pools needing 60–80 ft of fence — same complete kit, more coverage.
- 6 sections = 72 linear feet
- Self-closing gate kit included
- Drill guide included
- Lifetime warranty
- ~$12–$17 per linear foot installed
Affiliate link — we earn a small commission at no cost to you
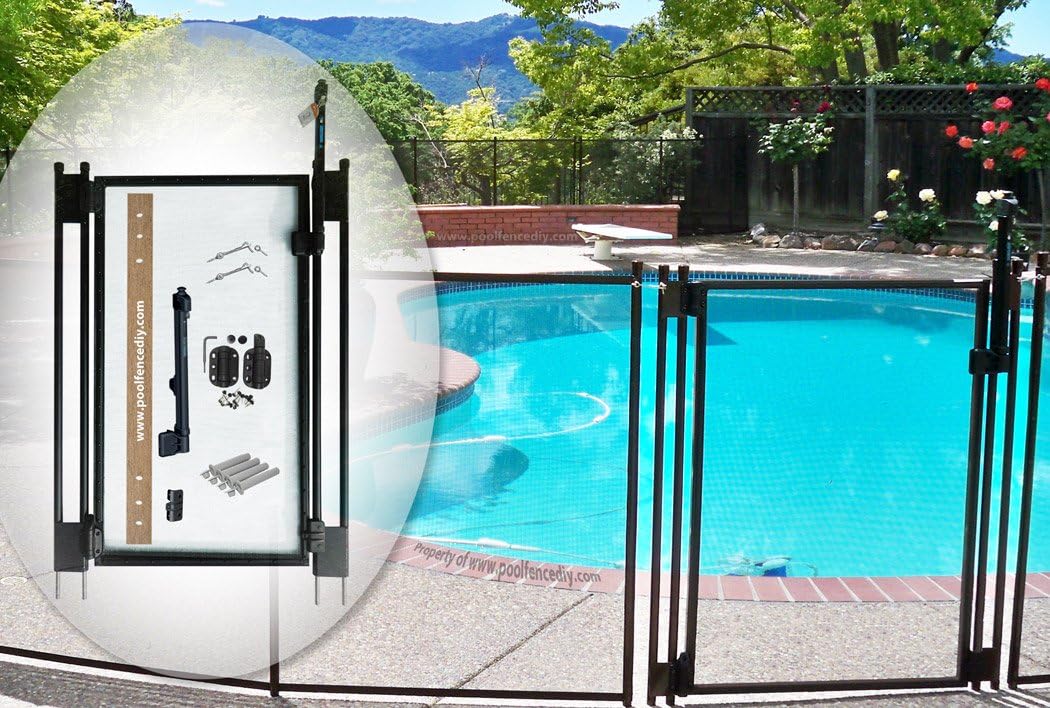
Life Saver — Self-Closing Gate Kit
Perfect match for any Life Saver section kit — same mesh, poles, and hardware for a seamless look.
- 48″ height matches Life Saver sections
- ~24″ opening width
- Magnetic self-latching mechanism
- Meets BOCA / ASTM gate standards
- Drill guide included
Affiliate link — we earn a small commission at no cost to you
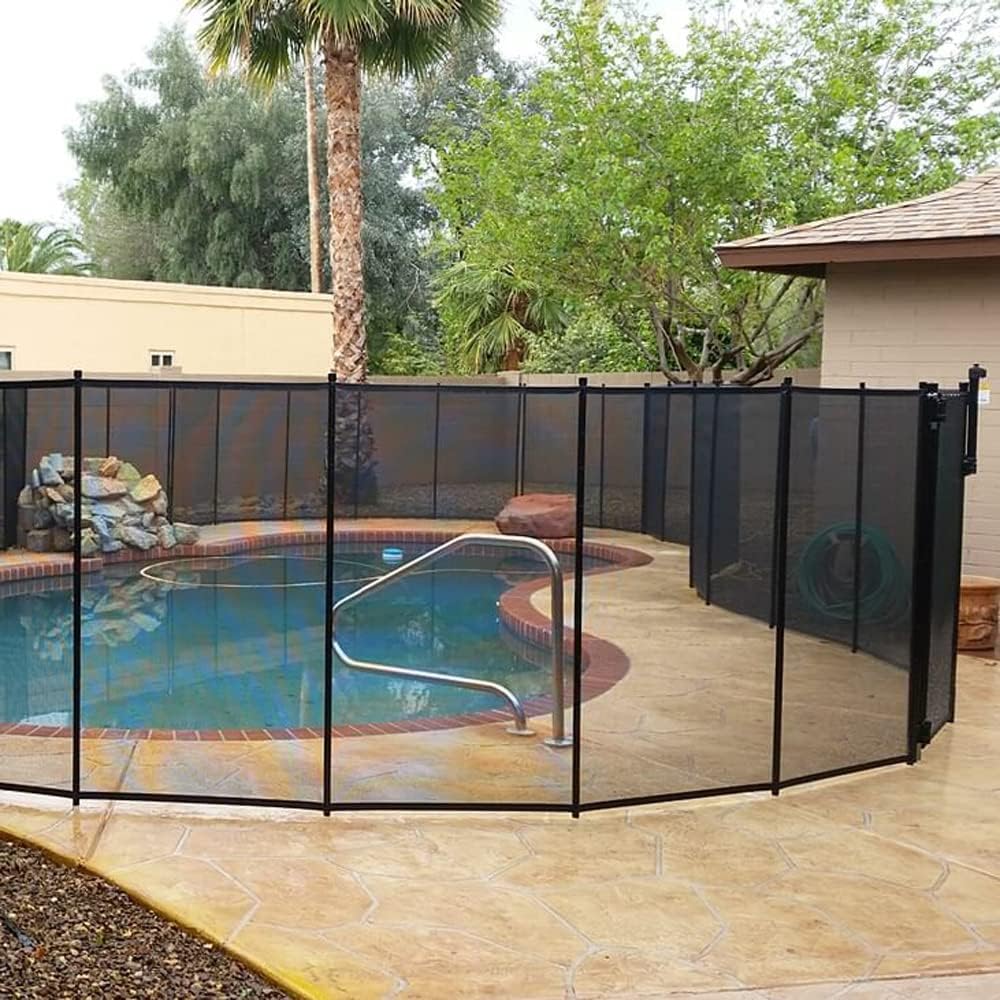
Vingli Pool Fence — 12-ft DIY Section
Heavy-duty mesh with standard deck anchors — a solid option when Life Saver is out of stock or over budget.
- 48″ height
- Heavy-duty polyester mesh
- Standard deck anchor system
- 6 poles per section
- Requires 5/8″ masonry bit
Affiliate link — we earn a small commission at no cost to you
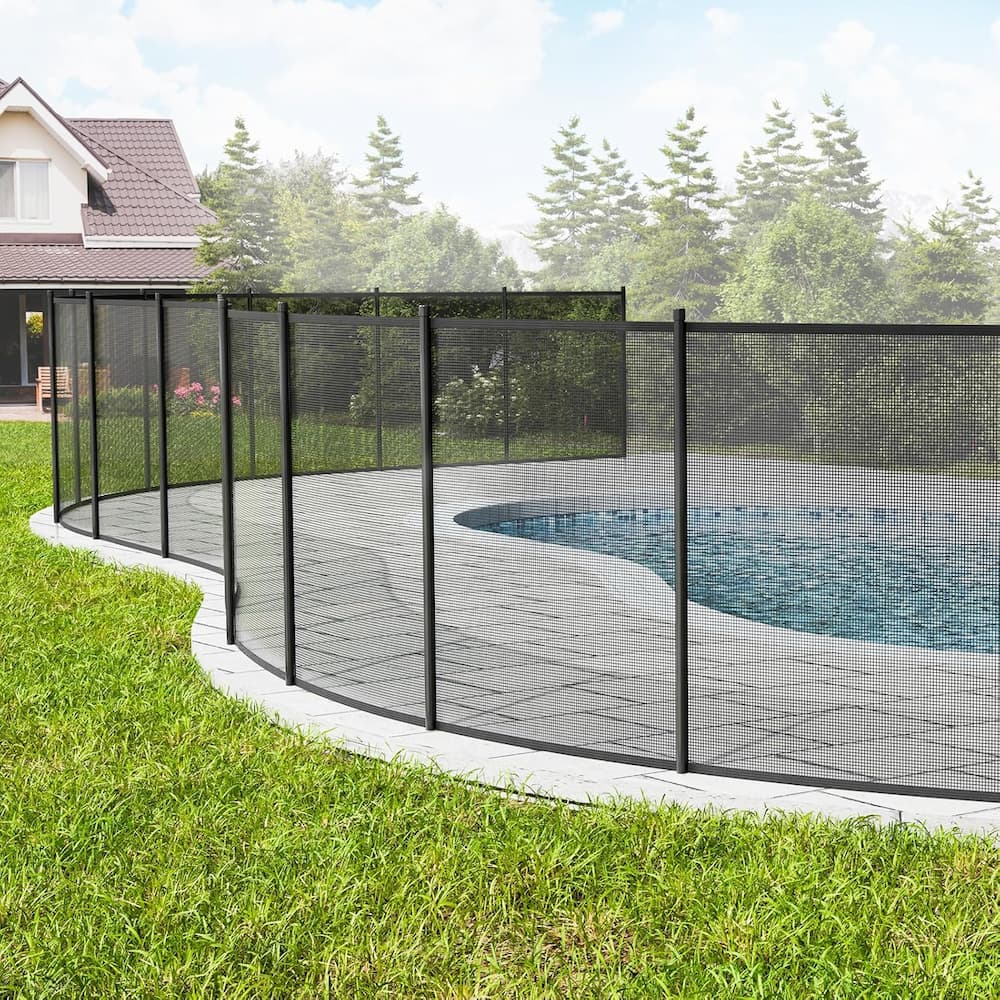
VEVOR Removable Pool Fence Section
Most affordable removable mesh per linear foot — good for large perimeters where budget is the priority.
- 48″ height
- UV-resistant mesh
- Quick-install pole system
- Works on concrete and pavers
- Sections connect end-to-end
Affiliate link — we earn a small commission at no cost to you
Gate Hardware
Self-closing, self-latching gate components — the parts inspectors check first.
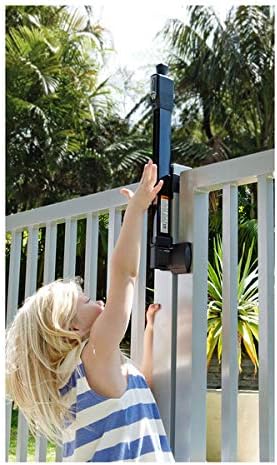
D&D Technologies MagnaLatch — Top Pull
The gold standard — magnetic self-latching, top-pull design keeps it out of reach of small children.
- Magnetic self-latching — latches automatically
- Top-pull operation above child reach
- Adjustable for gate sag
- ASTM / BOCA compliant
- Fits 1.25″–2.5″ square or round posts
Affiliate link — we earn a small commission at no cost to you
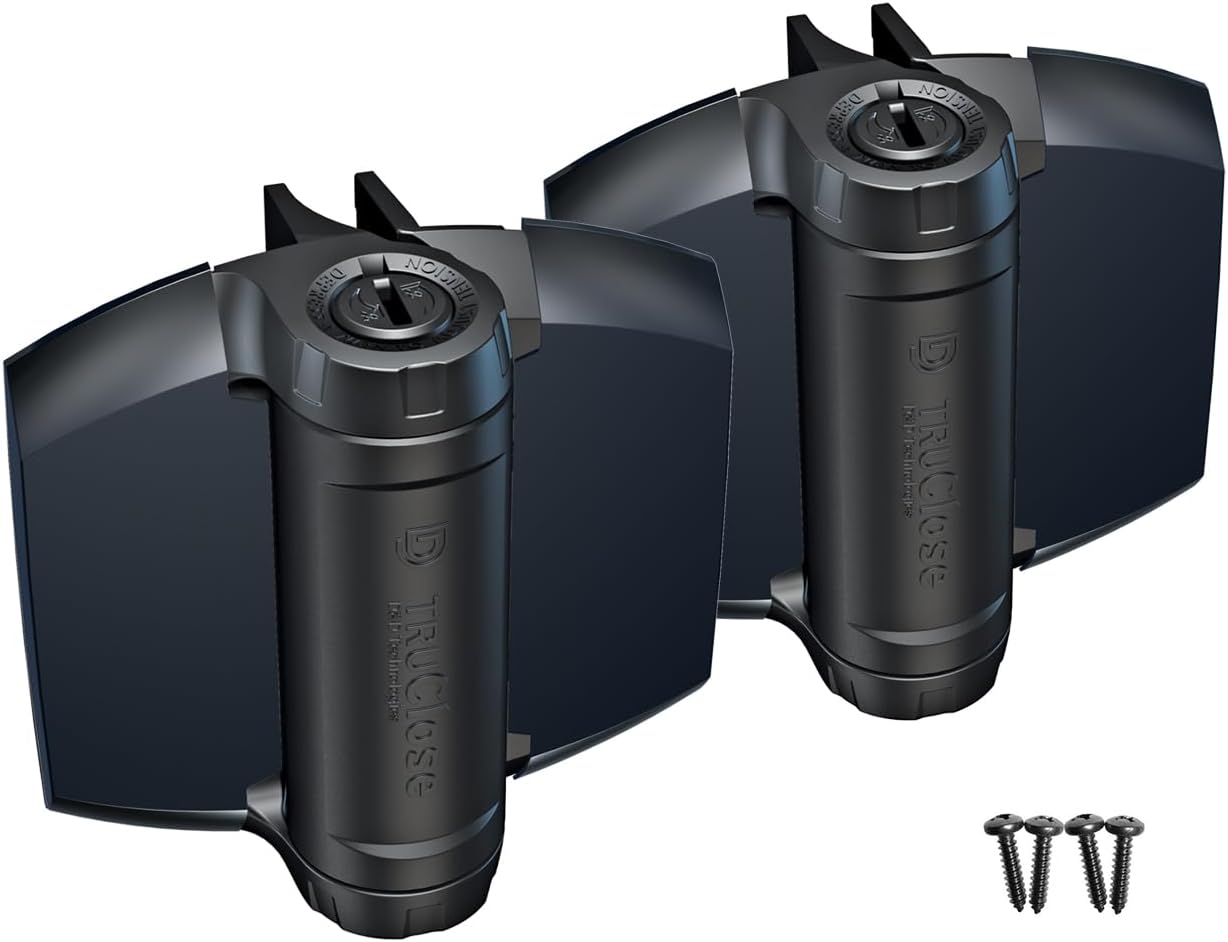
D&D TruClose Self-Closing Hinges (Pair)
Pair with MagnaLatch for a fully compliant gate — adjustable tension keeps even heavy gates closing reliably.
- Self-closing mechanism
- Adjustable closing tension
- Fits gates up to 1" diameter frame
- ASTM compliant
- Corrosion-resistant hardware
Affiliate link — we earn a small commission at no cost to you

D&D Complete Gate Kit — MagnaLatch + TruClose
Buy everything at once — MagnaLatch + 2 TruClose hinges bundled. Easier and cheaper than buying separately.
- MagnaLatch Top Pull included
- 2× TruClose hinges included
- All hardware in one box
- ASTM / BOCA compliant
- Fits most aluminum + wood gate frames
Affiliate link — we earn a small commission at no cost to you
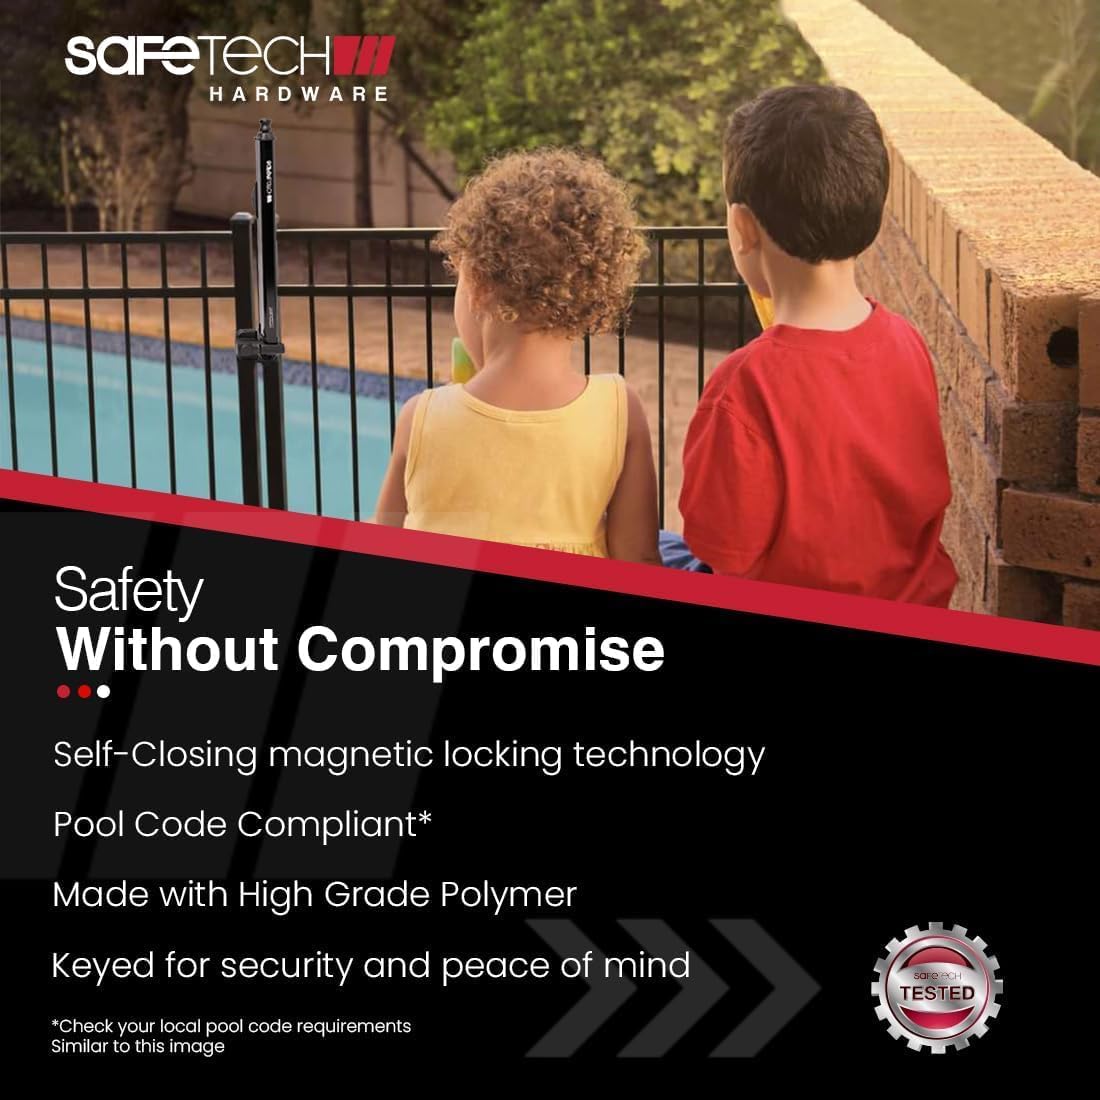
Safetech Hardware — Keyed Pool Gate Lock
Additional keyed deadbolt for pools where kids or visitors shouldn't have unsupervised access.
- Keyed deadbolt for positive lockout
- Weatherproof stainless hardware
- Installs in minutes with included hardware
- Works alongside self-closing/latching setup
- Comes with 2 keys
Affiliate link — we earn a small commission at no cost to you
Safety Accessories
Pool alarms, safety covers, and wrist alarms — layer your protection beyond the fence.
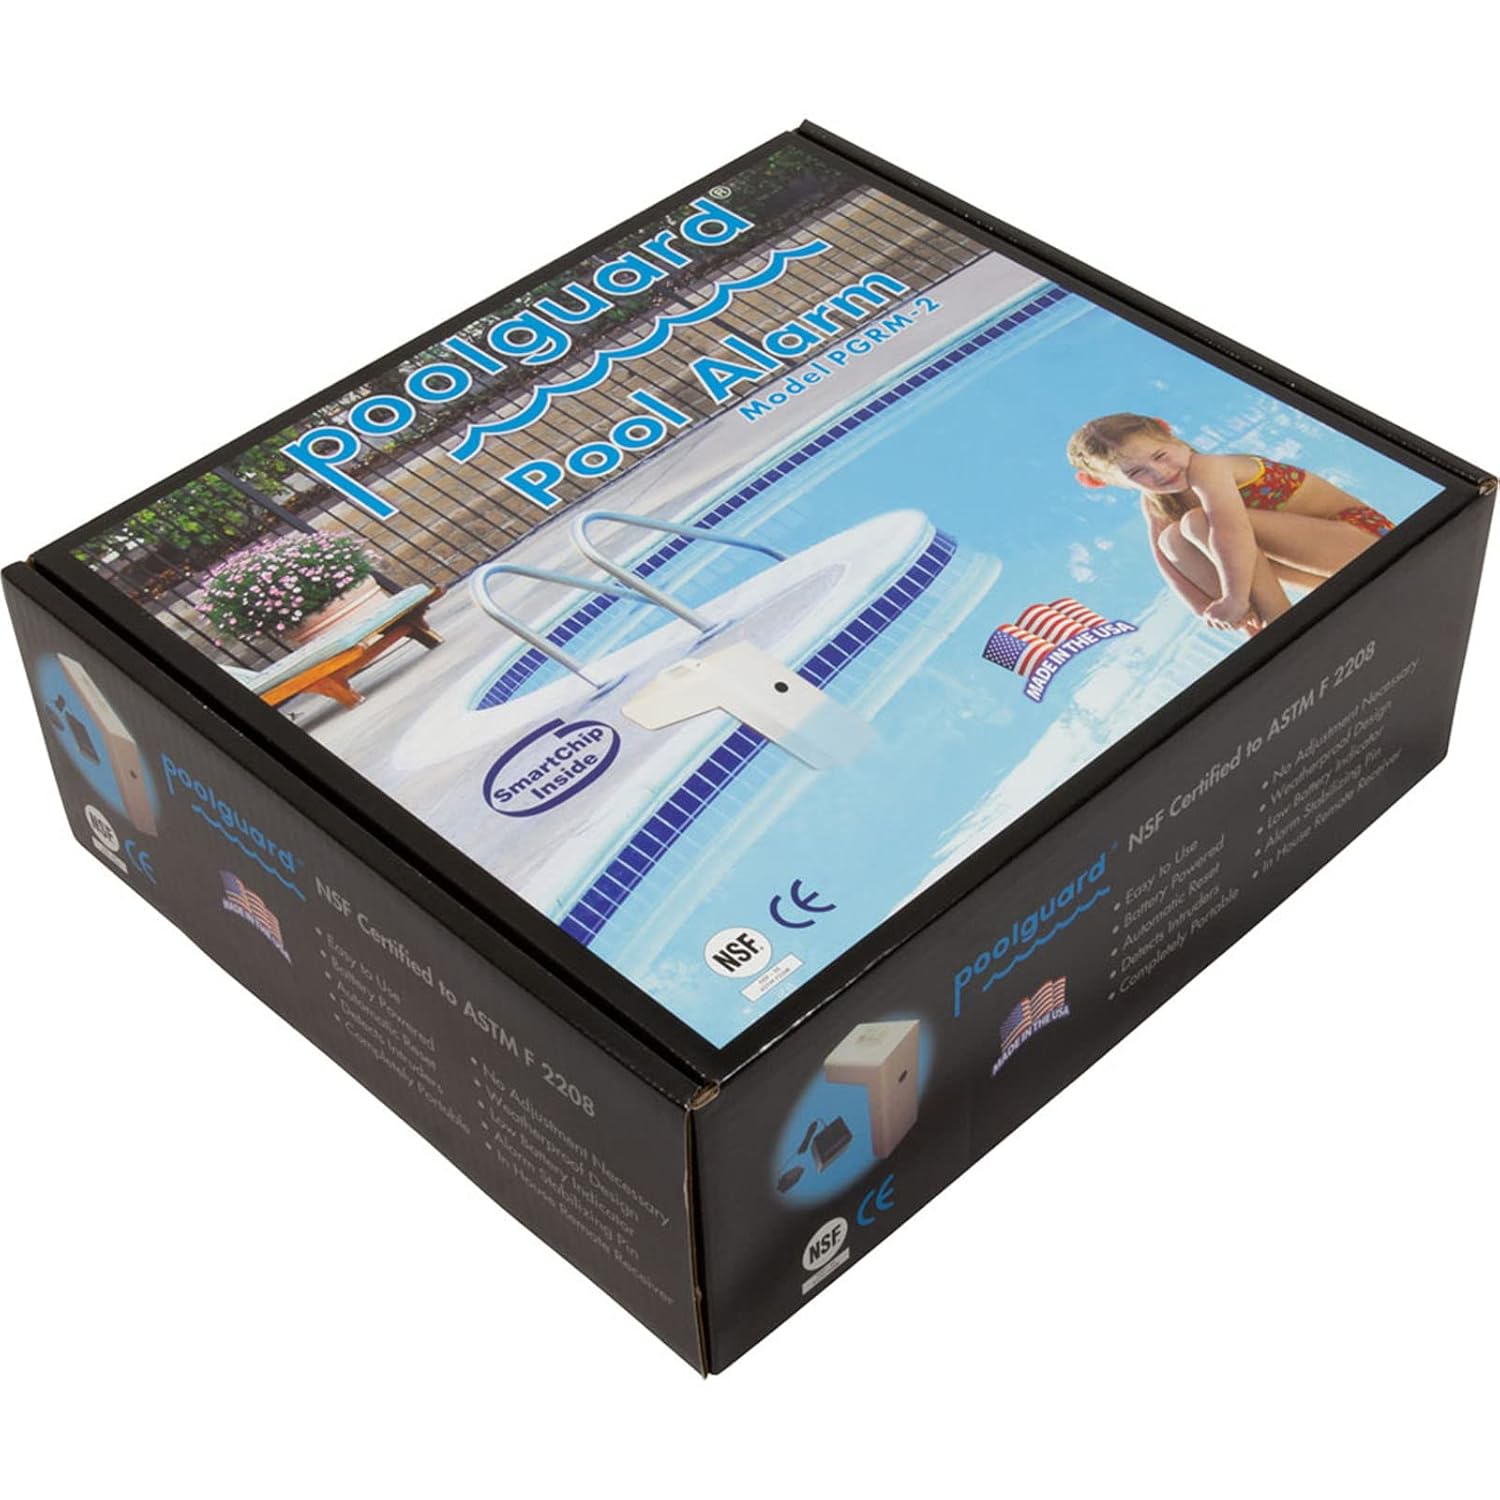
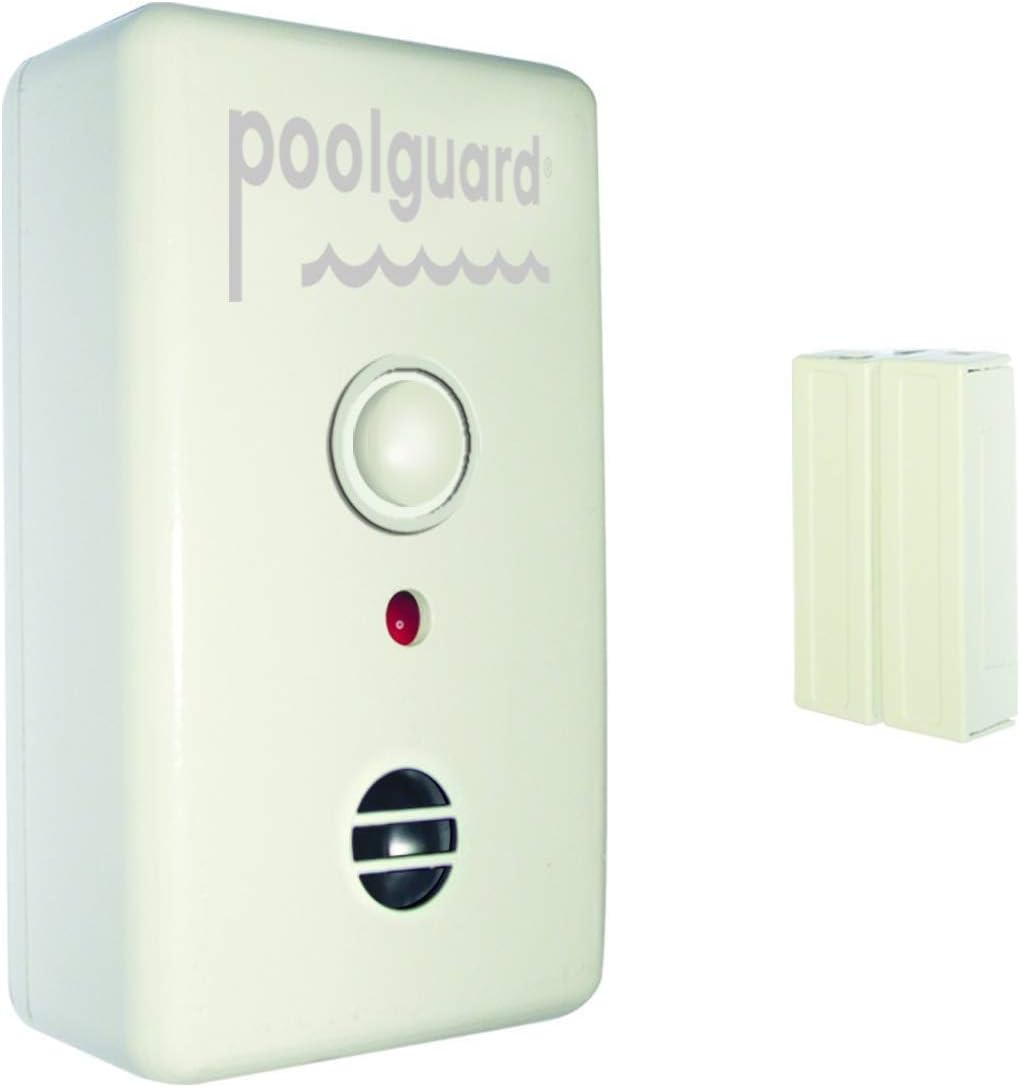
PoolGuard In-Ground Pool Alarm
Detects water disturbance and triggers alarms at the pool AND inside — required by law in some states.
- Dual alarm: poolside + indoor receiver
- ASTM F2208 compliant
- Works even when fence gate is left open
- 10-second delay for swimmers
- Required in Florida + several other states
Affiliate link — we earn a small commission at no cost to you
PoolGuard Door Alarm — Pool Access Warning
Mounts on any door to the pool area in minutes — required by law in Florida and several other states.
- Loud 85 dB alarm when door opens
- Mounts on any standard door
- Complies with Florida door alarm law
- 15-second delay to disarm
- Battery operated
Affiliate link — we earn a small commission at no cost to you
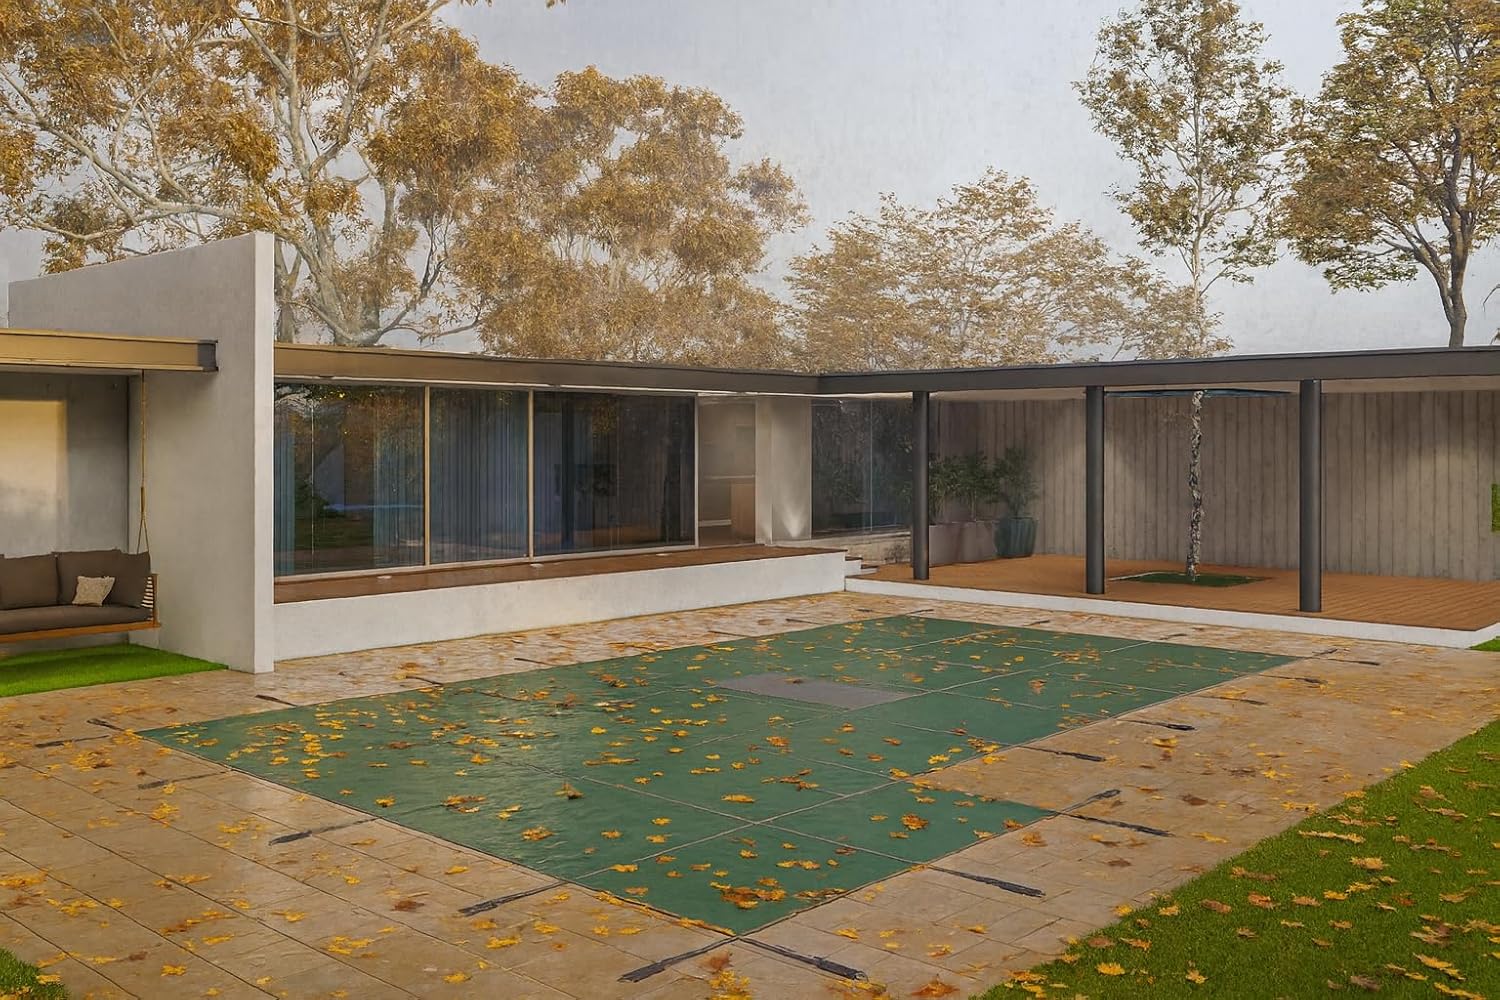
ASTM-Rated Pool Safety Cover (F1346)
Meets ASTM F1346 — counts as an approved barrier in many states when the pool isn't in use seasonally.
- Supports weight of an adult — no submersion risk
- ASTM F1346 rated
- Accepted as barrier alternative in many states
- Solid covers block UV and debris
- Professional measurement required for fit
Affiliate link — we earn a small commission at no cost to you
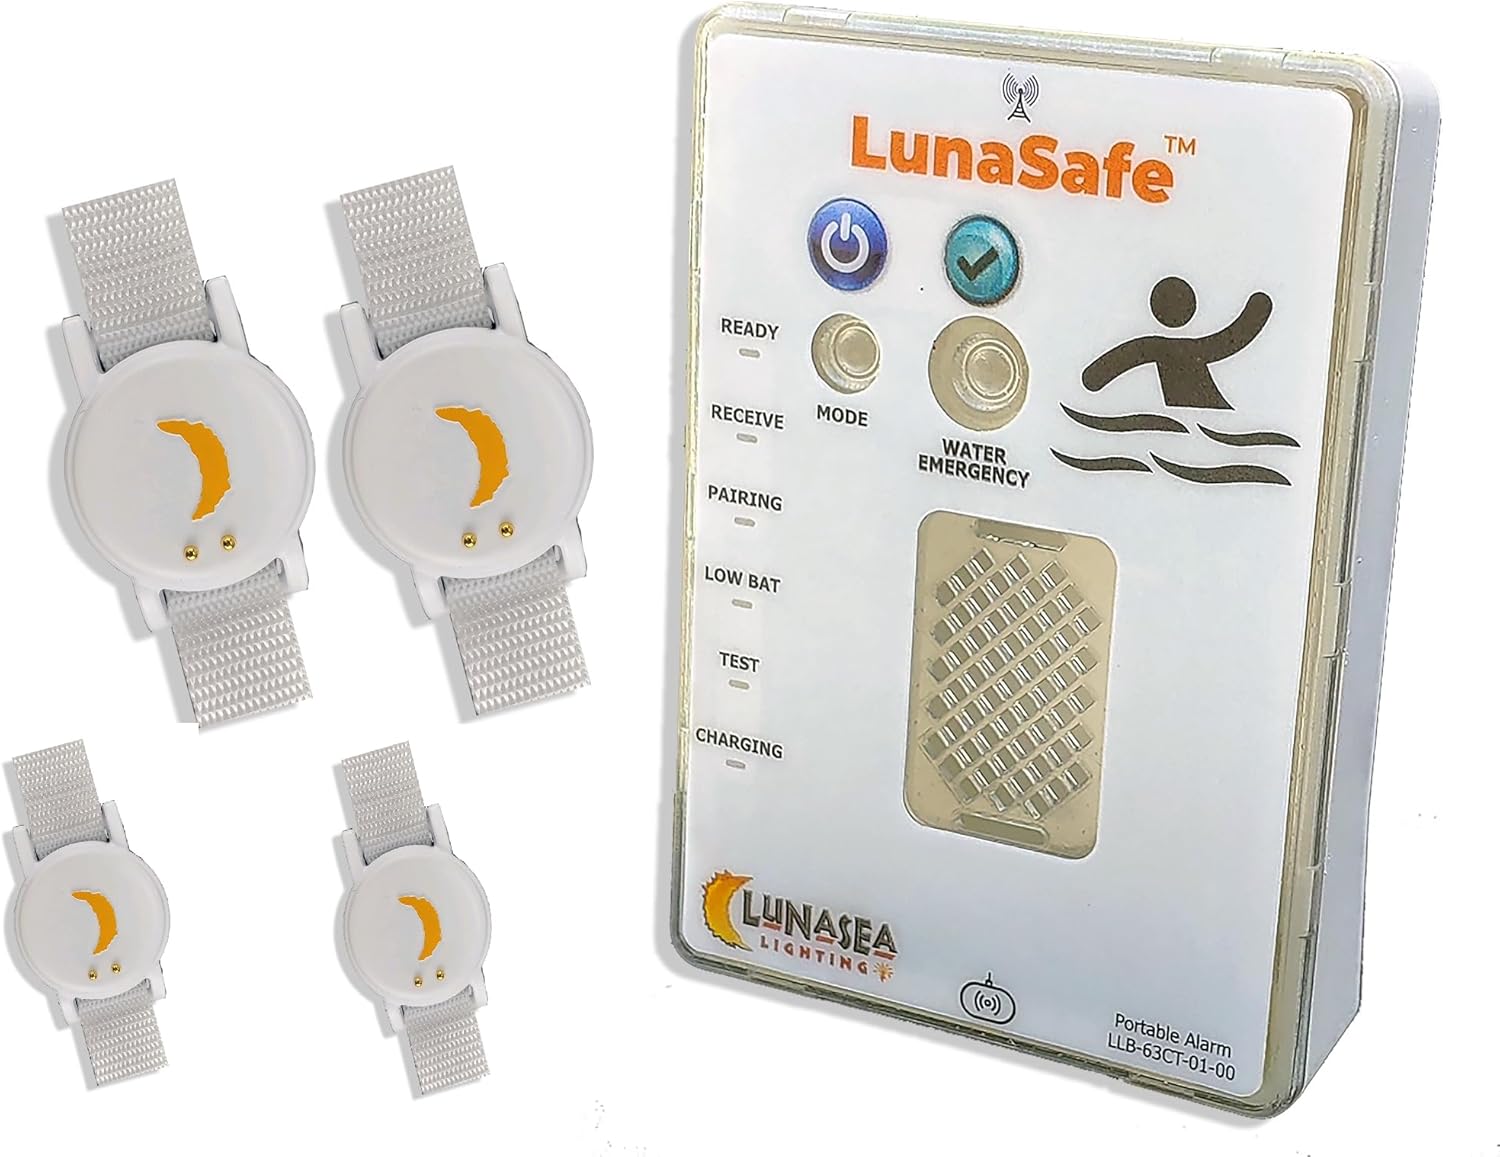
Child Pool Wrist Alarm
Worn on a child's wrist — triggers a loud alarm the instant it's submerged. A last line of defense.
- Triggers within 1–2 seconds of submersion
- Base unit alarms indoors simultaneously
- Adjustable wristband for ages 1–12
- Waterproof up to 3 ft depth
- Battery lasts ~3 months
Affiliate link — we earn a small commission at no cost to you
Installation Tools
What you'll need to anchor posts in concrete, grass, or pavers.
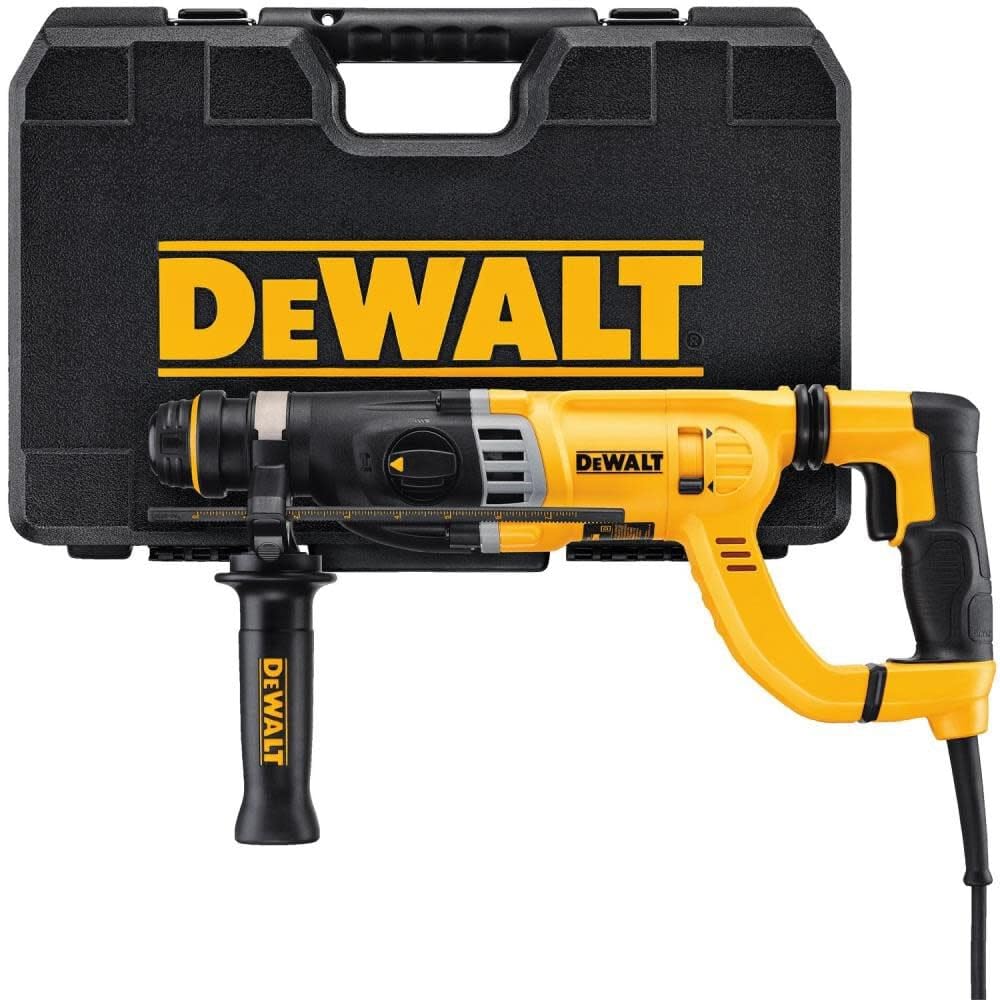
DEWALT 20V SDS Hammer Drill
The go-to hammer drill for DIY pool fence installs — SDS chuck, 3 modes, and enough torque for any deck.
- SDS+ chuck — accepts masonry bits directly
- 3 modes: drill / hammer drill / chisel
- Compatible with 5/8″ SDS masonry bits
- 20V battery — same platform as DEWALT tools
- Can rent from Home Depot (~$35/day) to save cost
Affiliate link — we earn a small commission at no cost to you
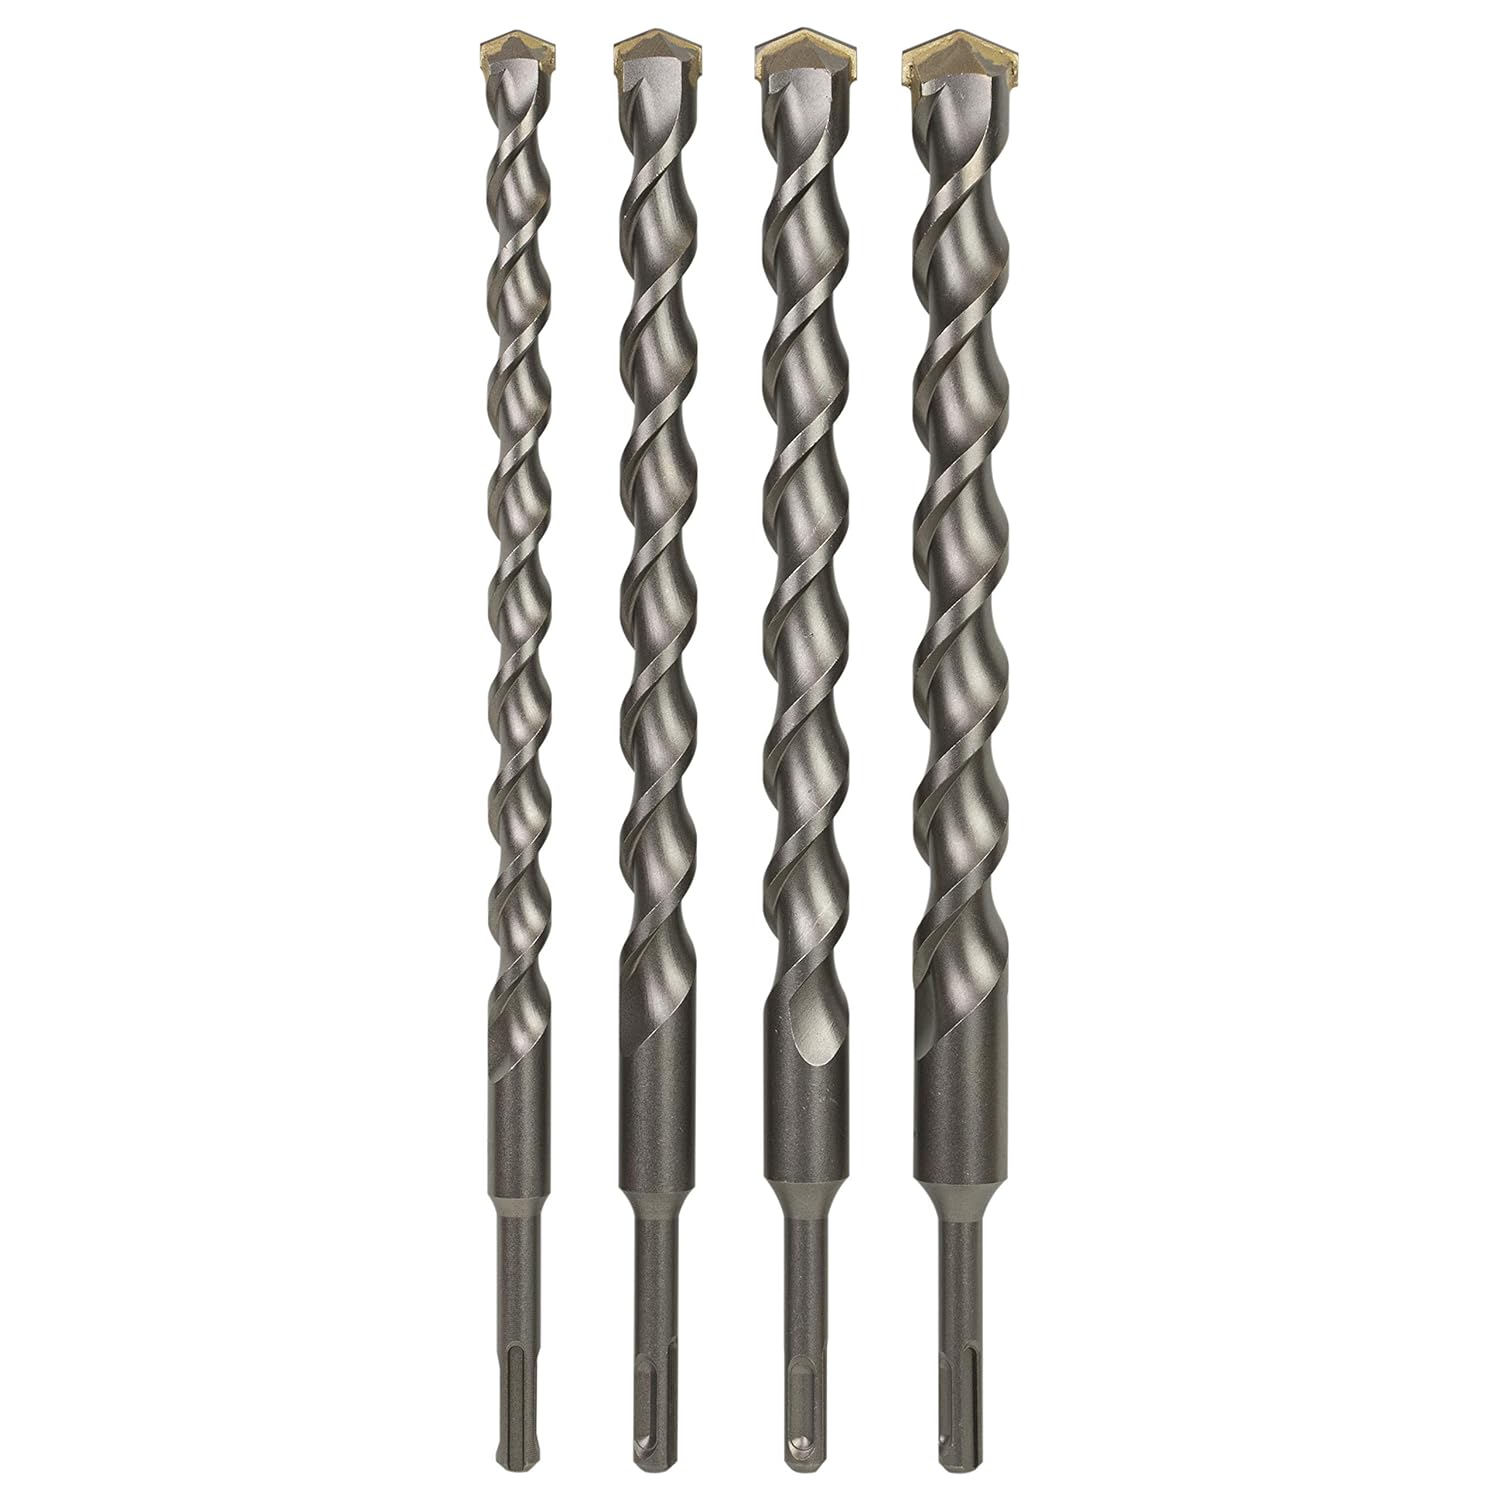
SDS Masonry Drill Bit Set (5/8″ + Assorted)
Most mesh fence kits require a 5/8″ bit — buy a set so you have the right size for any deck or kit.
- 5/8" bit included (most common for pool fences)
- SDS+ shank — fits all SDS drills
- Carbide tip for concrete and pavers
- Assorted sizes for different kit requirements
- Bits are consumable — replace if they wear
Affiliate link — we earn a small commission at no cost to you
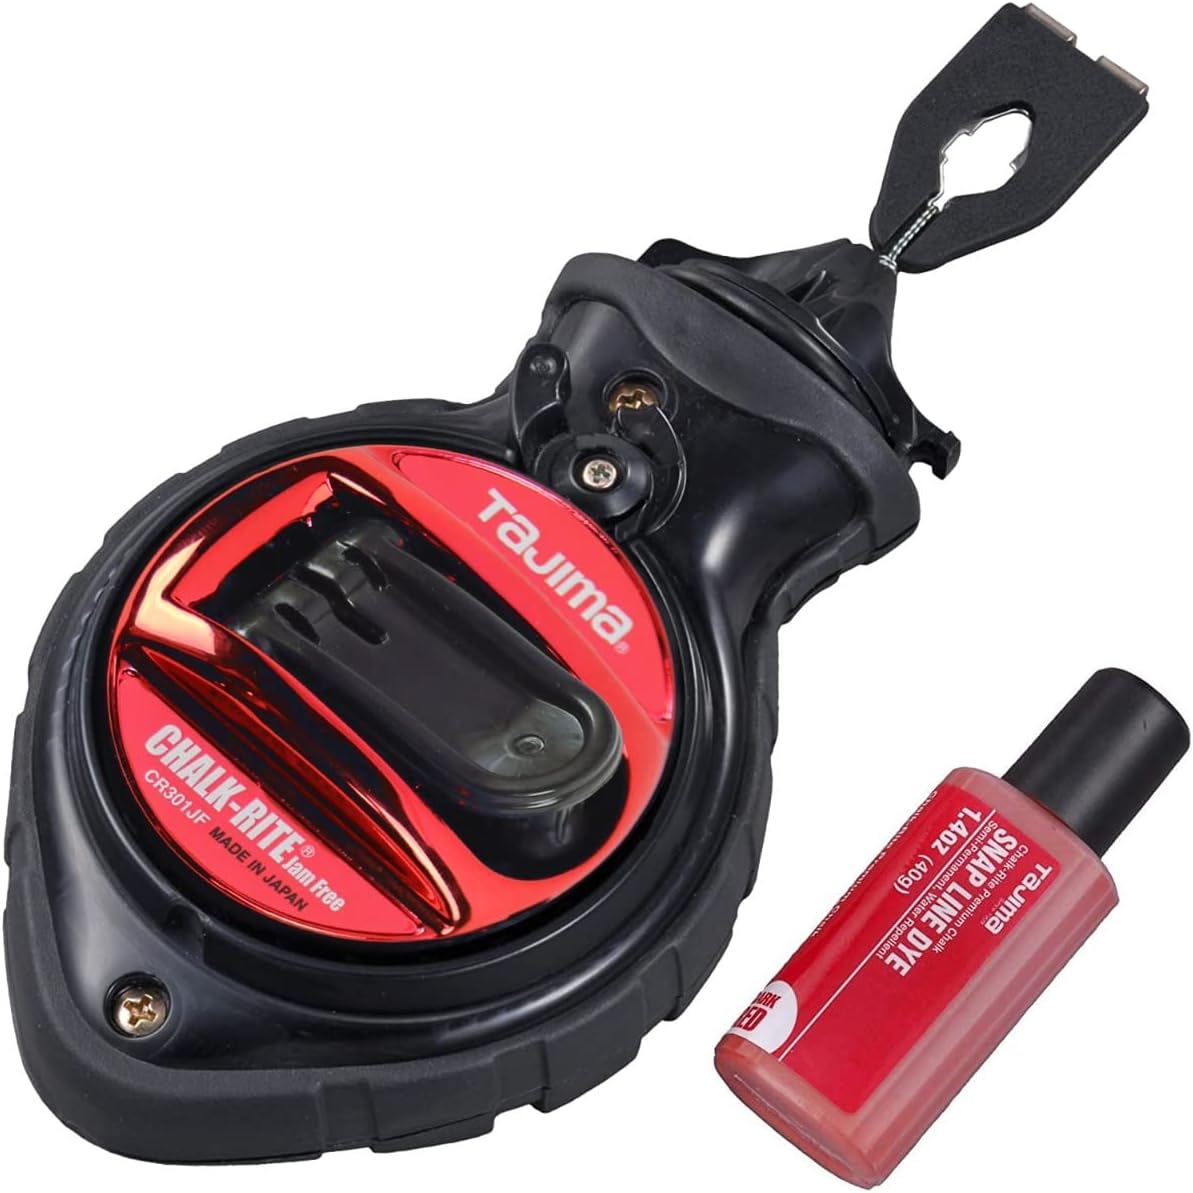
Chalk Line Reel — Layout Tool
Snap a chalk line before drilling a single hole — keeps poles straight and gaps consistent around the pool.
- Snaps a straight reference line across any surface
- Essential for consistent pole spacing
- Prevents crooked fence sections
- Reusable — works for any future deck project
- Under $20 at any hardware store
Affiliate link — we earn a small commission at no cost to you
Changed your mind? Hire a licensed installer instead.
Get 3–5 free quotes from local pros. Takes 2 minutes, no obligation.
DIY Installation Guide
Step-by-step guidance for installing your pool fence safely and correctly
Retractable Ladder Lock
If your pool wall meets minimum height (48" most states, 60" in AZ) and is non-climbable externally, a lockable retractable ladder is the simplest compliant solution. No separate fence needed.
Rail-Mount Fence Kit
Bolts directly to the pool's top rail — no ground anchors needed. Works for most oval and round above-ground pools. Raises effective barrier height above the pool wall.
Deck-Mount Kit
If your above-ground pool has an attached deck, deck-mount fence kits anchor into the deck framing instead of the ground or pool rail.
Arizona applies the same 60-inch barrier requirement to above-ground pools — no exemption. See our full above-ground pool fence guide for state-by-state details.
Installation Guide
Everything you need to know before picking up a drill.
Check whether your city requires a permit for pool fence installation. Many do — installing without one can result in fines and mandatory removal. Call your local building department first. Not sure what your state requires? Check your state's pool fence laws →
DIY vs. Professional Install — Cost Comparison
| Fence Type | DIY Cost | Pro Installed | DIY Savings |
|---|---|---|---|
| Mesh (100 LF) | $400–$900 | $1,200–$2,200 | $600–$1,400 |
| Aluminum (100 LF) | $1,200–$2,200 | $2,400–$4,600 | $800–$1,800 |
| Vinyl (100 LF) | $900–$1,800 | $1,900–$3,600 | $800–$1,600 |
| Glass (100 LF) | Not recommended | $4,000–$7,800 | N/A |
Based on 100 linear feet with 1 gate. Savings are estimates — your actual numbers depend on complexity and location.
Which types are DIY-friendly?
Mesh installation — 8 steps
- 1Measure and plan layout
Mark pole positions every 36–48" around perimeter. Confirm gate locations open outward (away from pool).
- 2Call 811 and check for rebar
Call before drilling to identify underground lines. Use a rebar locator if unsure about your deck.
- 3Drill anchor holes
Use a hammer drill with bit size specified in your kit (typically 5/8"). Keep perpendicular. Vacuum all debris.
- 4Install deck anchors
Tap sleeve anchors flush with the deck using a rubber mallet. These stay permanently even when fence is removed.
- 5Insert poles and attach mesh
Slide poles into anchors. Attach mesh from a corner. Pull taut — sagging mesh creates climbing footholds.
- 6Install the gate
Attach hinges and latch per kit instructions. Test: open 90°, release, confirm it closes and latches every single time.
- 7Check all gaps and heights
Bottom gap ≤ 2", vertical gaps ≤ 4", height ≥ 48" (or your state's requirement). Fix anything out of spec.
- 8Schedule permit inspection
If a permit was required, schedule the inspection before using the pool.
6 common mistakes
Too far apart = bowing mesh = gap a child can push through. Follow kit specs exactly.
Must be ≤ 2 inches. 3–4 inches is enough for a toddler to crawl under.
Open 90°, release, confirm latches every time. Adjust spring tension if needed.
Must open outward. Inward gate can be pushed open by a child leaning against it.
Shallow anchors loosen over time. Drill to exact depth at every single hole.
Can result in fines and mandatory removal. Inspection also catches safety errors.
FAQ
Plan a full day (6–10 hours) for a first-time installer on a 100–150 ft pool. A helper cuts the time significantly.
In most jurisdictions, yes. Some areas require a licensed contractor to pull the permit. Call your local building department before buying materials.
Pavers, tile, and sloped surfaces are significantly harder. DIY is not recommended — hire a professional installer instead.
Yes. Deck anchors stay permanently but poles and mesh remove in minutes and store in a bag.
Yes — a standard drill will not work in concrete. Rental at Home Depot or Lowe's runs $40–$60 for a half-day.